How to share your screen like a pro
Everyone in the world knows how to share their screens because we’ve all been working from home for the last year or so, meaning there is no reason for this post and you may as well stop reading.
Have a good day.
Still here?
Ok, maybe everyone doesn’t do it perfectly, and some people don’t even do it well, but it is an important and regular part of life these days, so I thought I’d throw together some tech tips on how to do it the best way.
How to share you powerpoint in zoom like a pro
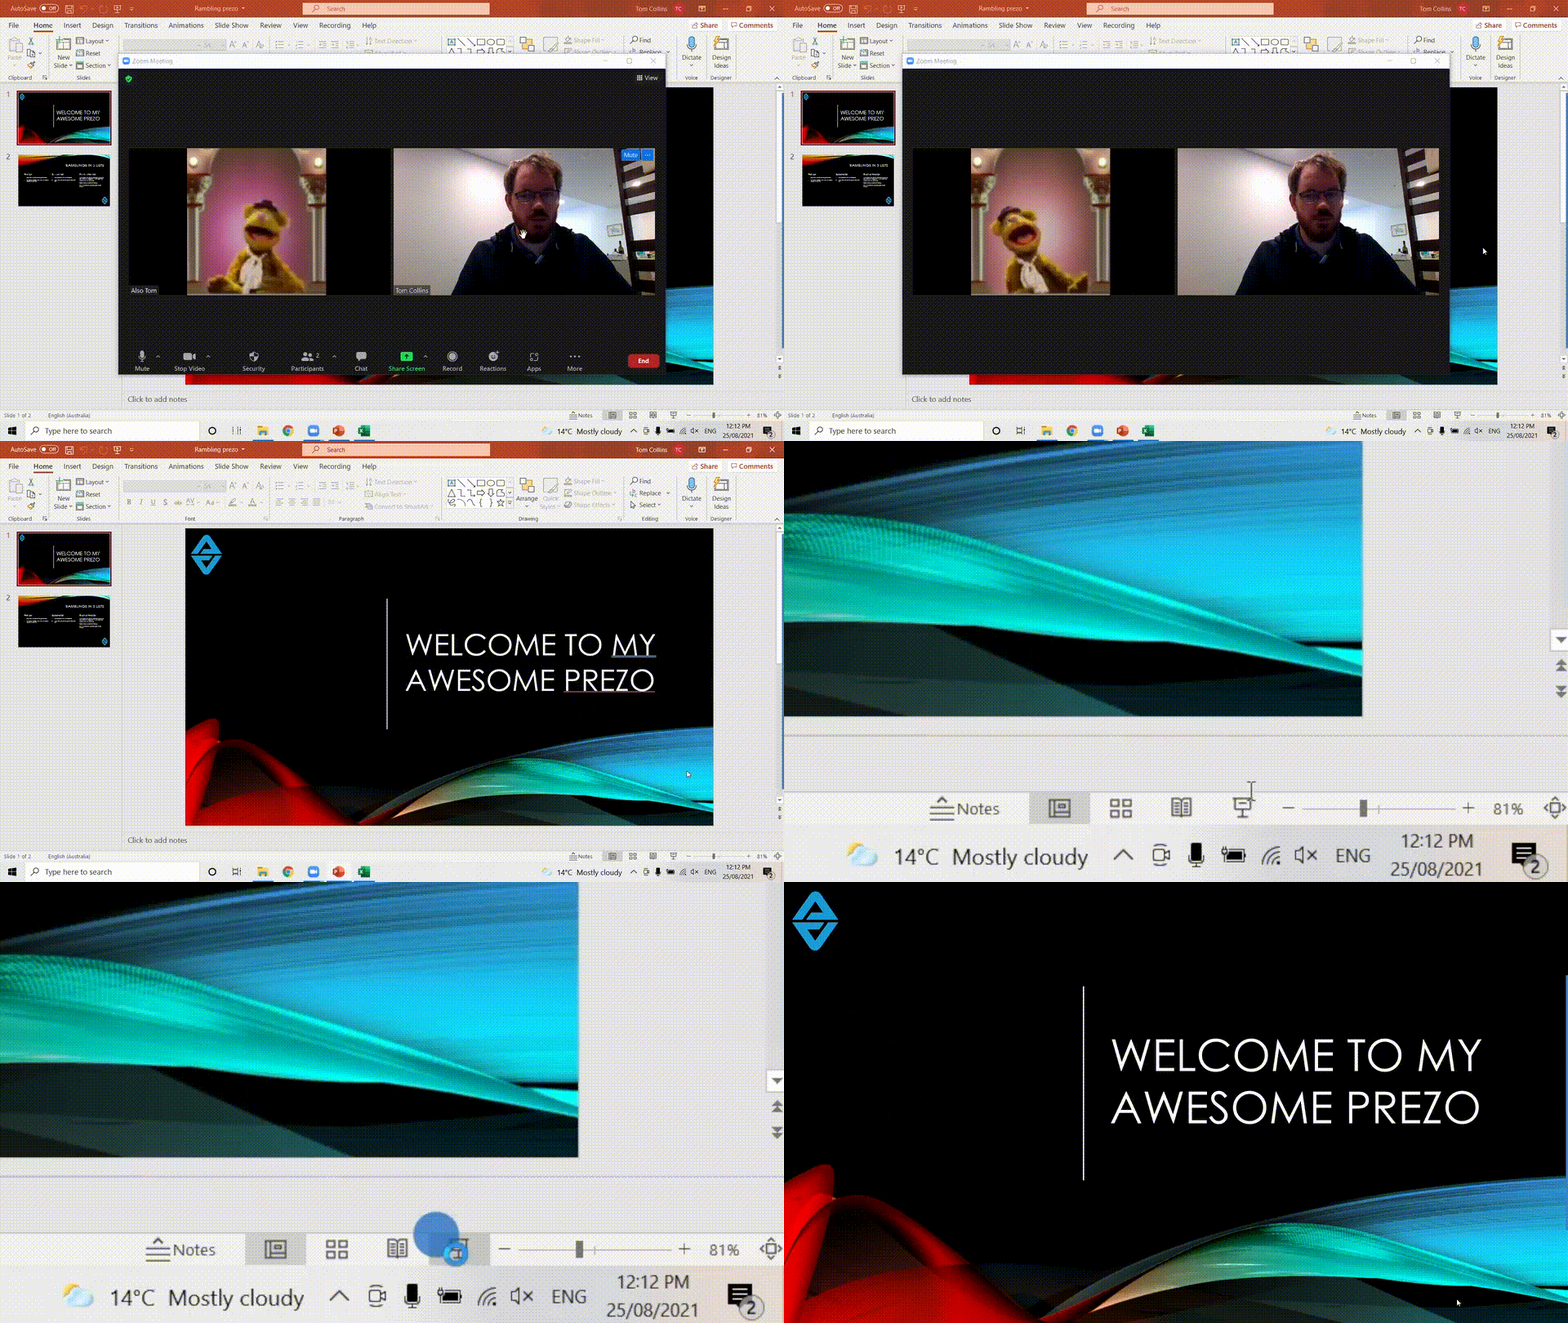
Once you’re in the call, go to powerpoint, click “Slide Show” or press F5 (command+return on mac)


If you’re using Mac, another fun shortcut for you is command+` ( ` is above Tab) which you can use to switch between windows within the same app.
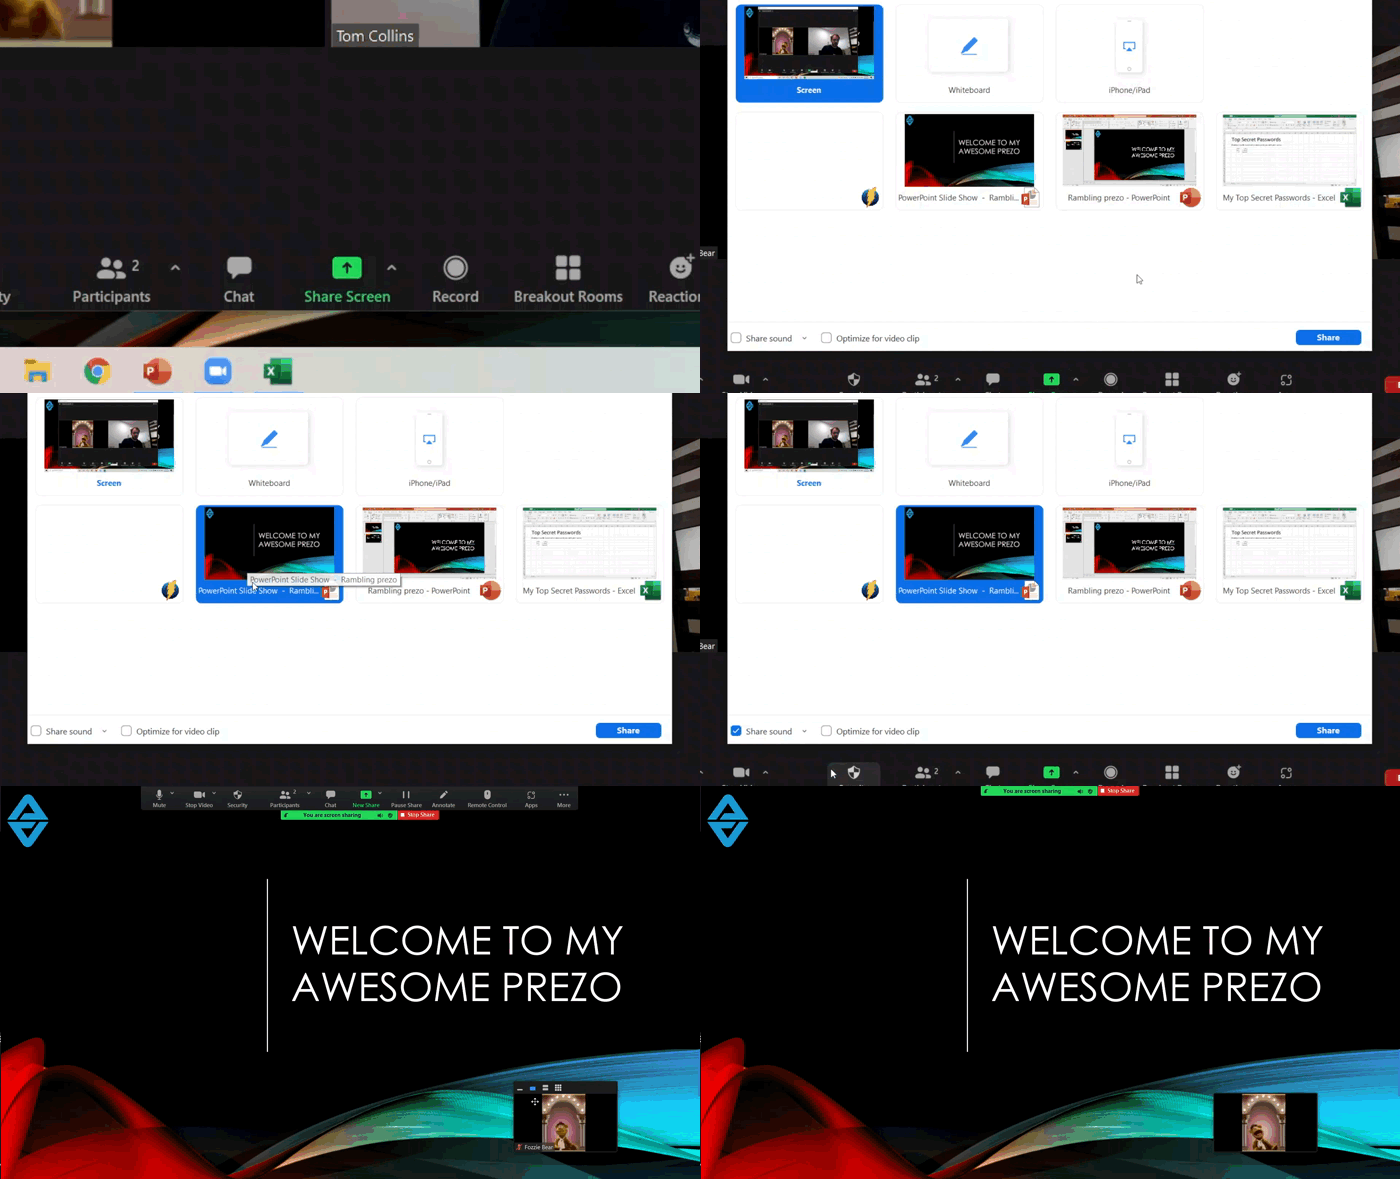
Click “Share Screen” in the middle at the bottom of Zoom, then select “Powerpoint Slide Show” and "Share sound"

You are given the option to share any screen, or any window of any app, so there are two or three options of which powerpoint window to share. Make sure you don’t click “Rambling prezo” (or whichever less silly filename your prezo is) or “Presenter view”. You don’t want everyone to be able to read your notes while you present.
In this example I’ve got “My top secret passwords” spreadsheet open. If you’re planning to share your screen you shouldn’t have anything else open, but you especially shouldn’t select to share them!
If you have any sound in your prezo, remember to select “Share sound” and “Stereo (High-fidelity)” for better quality. There’s also an “Optimize for video clip” option that hides the little Zoom window, so I didn’t select it this time because I still wanted to be able to see the people in the call at all times.
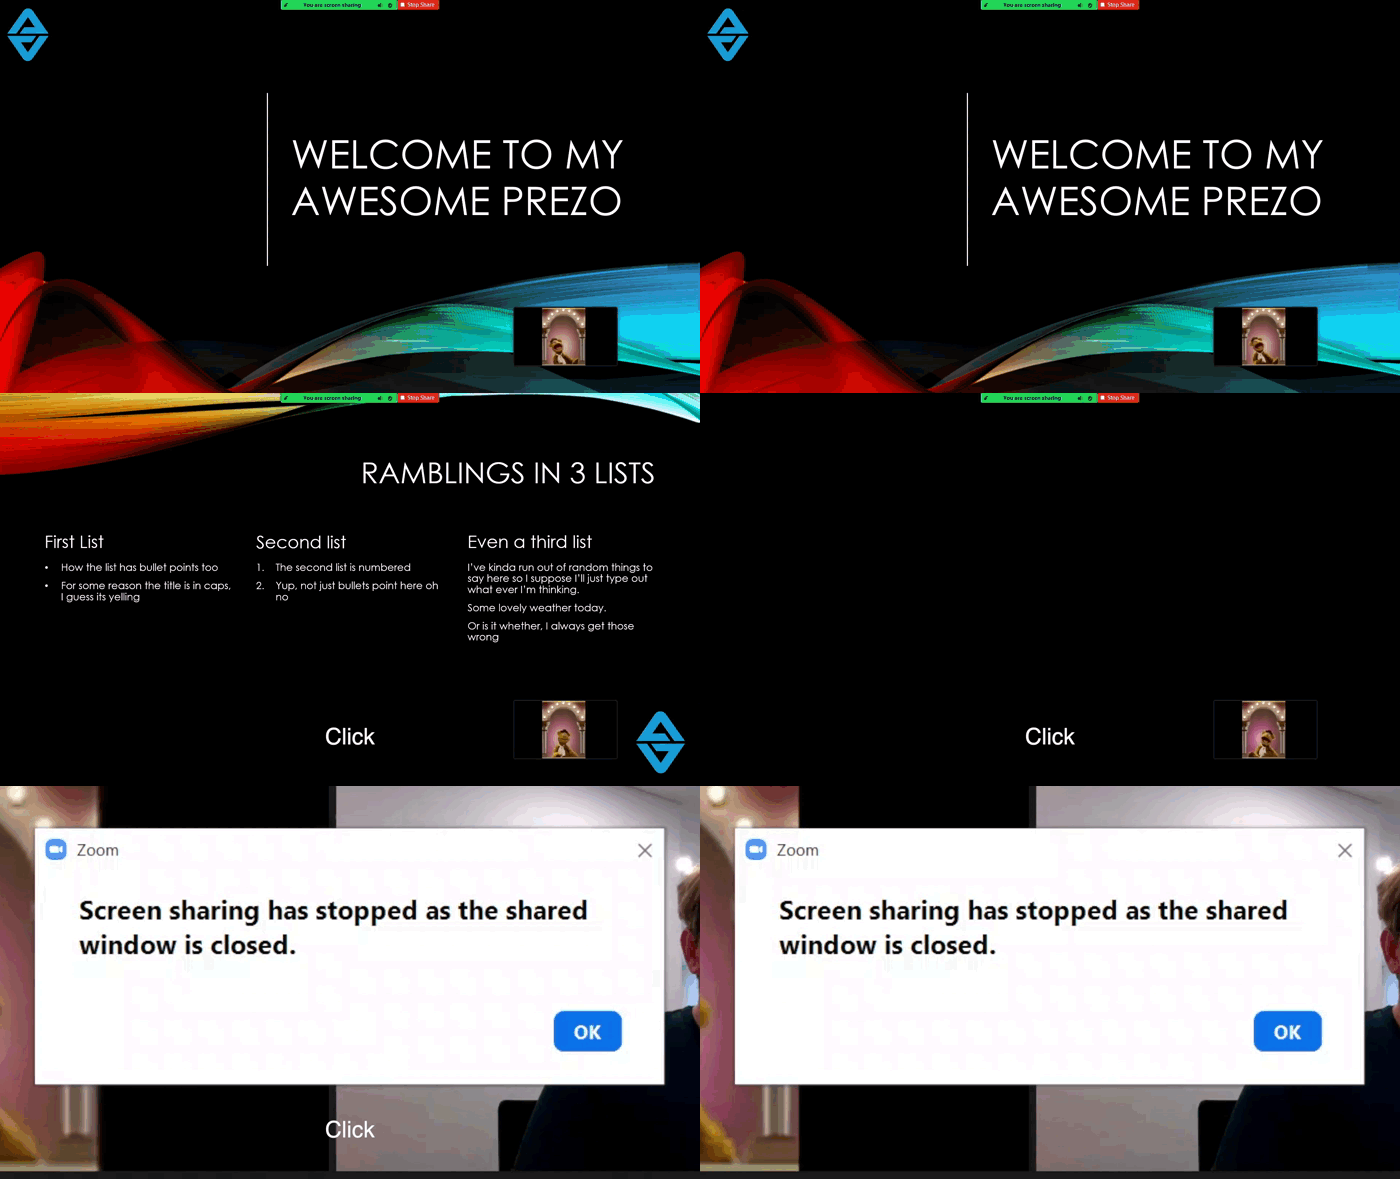
4. Now you're sharing your slides, so off you go with your prezo!

You will still be able to see the little zoom window which has a few viewing options by clicking the buttons at the top.
When you click past your last slide the screen sharing will automatically stop.
This method is usually best because it means you don’t have to do any more alt-tabbing at the end, or tinker with the mouse to stop sharing at the end, and also you won't reveal your untidy desktop, or whatever apps you have open at the time.
Like all things technical, test, test, test. I’ve you’ve ever been on a tech check with a technician, all we want to do is test everything in the most similar conditions to the event as possible, so we can have confidence that it will work.
With this in mind hopefully we can avoid a few awkward moments in your next remote presentation.
Thanks for reading, break a leg!

